
My Studio & The Painting Process

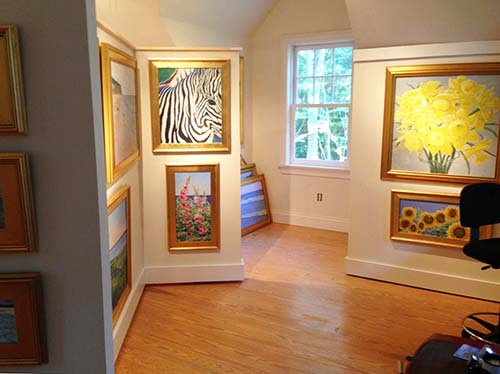
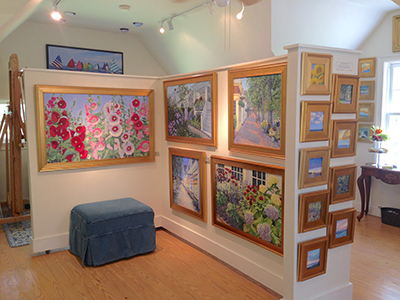
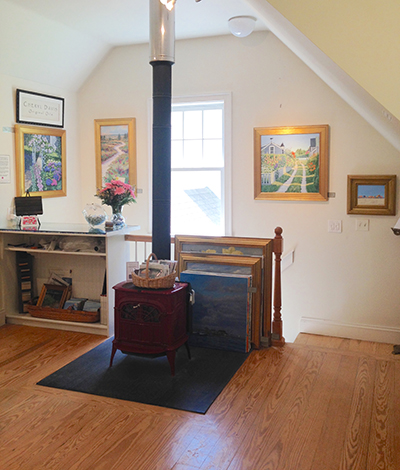
The Painting Process
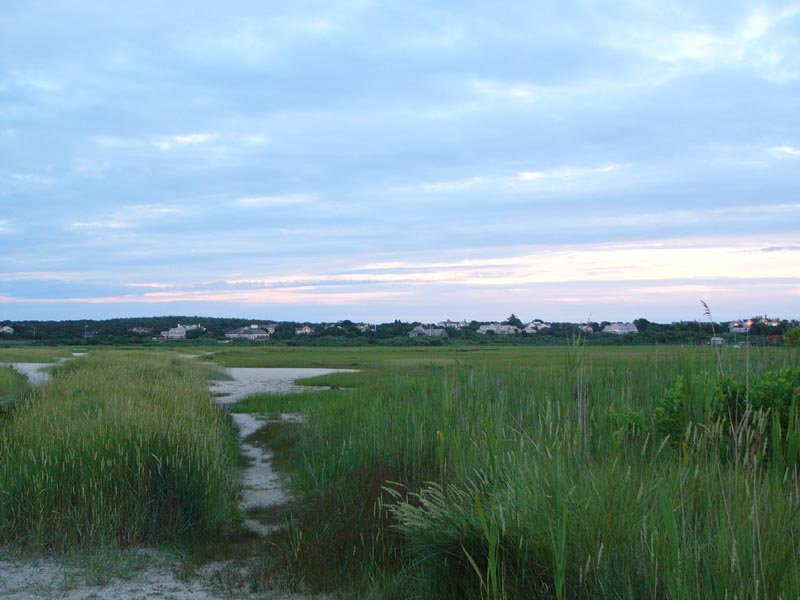
This photo shows where I was standing when I painted the study shown below.
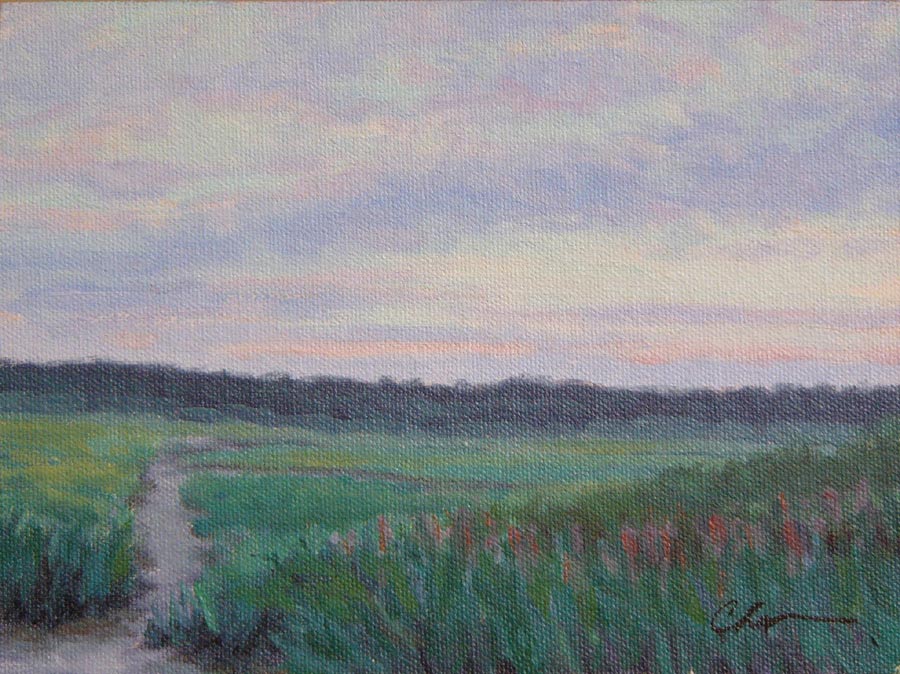
This is a 6 x 8 study I painted outdoors on site where the above photo was taken.I’ve taken some artistic license by changing the things I felt distracted the viewer from the focal point. I added color where necessary to direct the eye or create the illusion of distance. important to keep the viewer’s eye moving but inside the painting.
I started the sky with a base color of clouds first then added the background sky colors into the clouds. I’ve tried to keep the brushwork loose and fresh in the early stages of the painting.
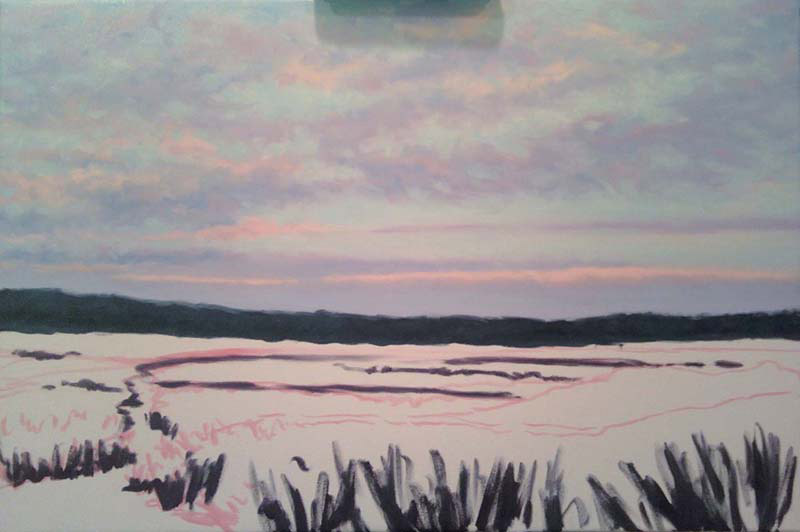
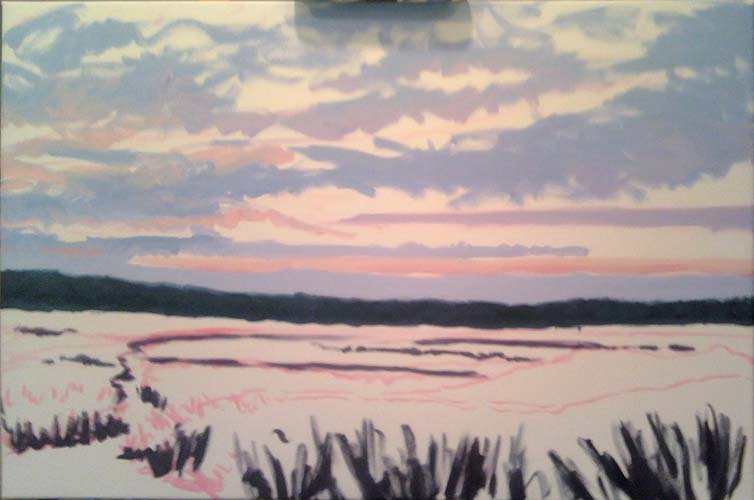
I didn’t take photos early on but this started with a pink line drawing. Next, I went to work on the sky and just painted the feeling of the sky. It was soft and subtle with a fairly tight value range.
Next, I went to work on the on the mid-ground and the foreground. I wanted to keep this soft as the sky is the focal point and I don’t want to take too much attention away from that. Going forward I’ll want to add a little interest with backlighting in the foreground for a bit of sparkle and to keep your eye inside the borders of the painting.

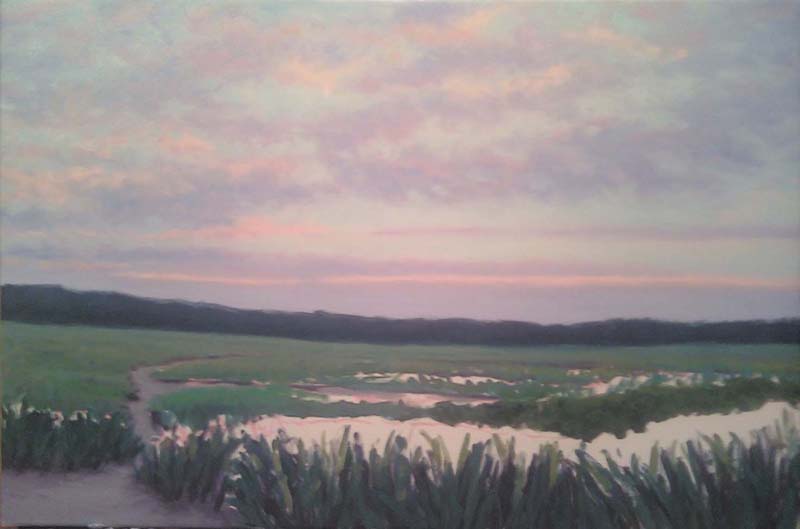
Here is the finished painting. Dusk Nantucket 24 x 36 Oil on Canvas
Next Up…..Matanzas Creek Winery in Santa Rosa, California
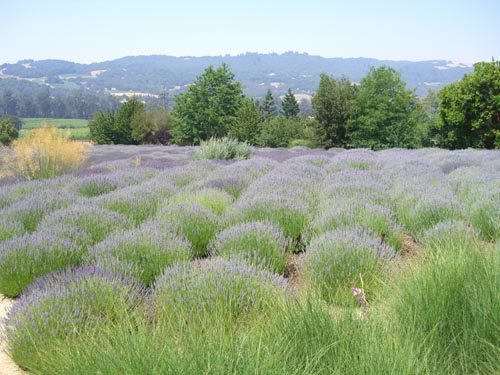
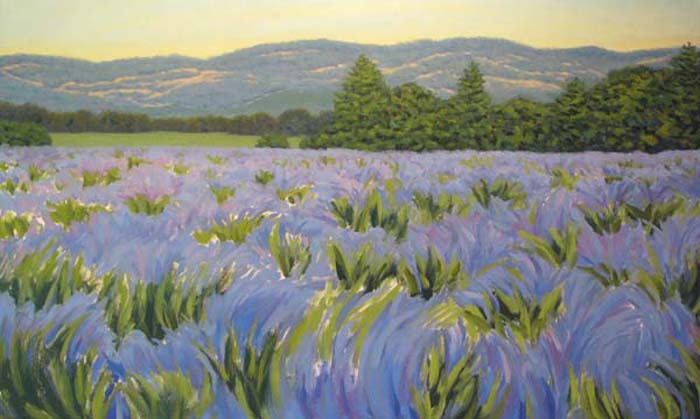
This is the photo that inspired the following 12 x 24 painting I used as a study for the much larger 36 x 60 which follows…
You’ll notice many changes have been made to simplify the overall composition. If you squint your eyes though, you’ll find the overall feeling of the painting remains very similar to the photo.
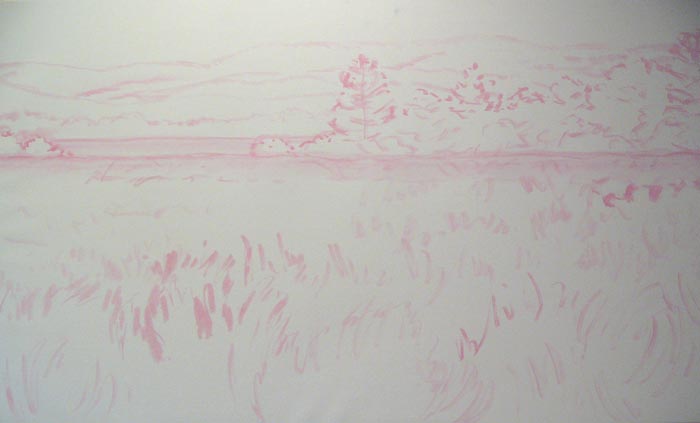
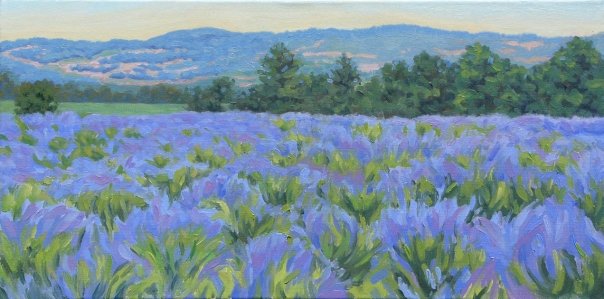
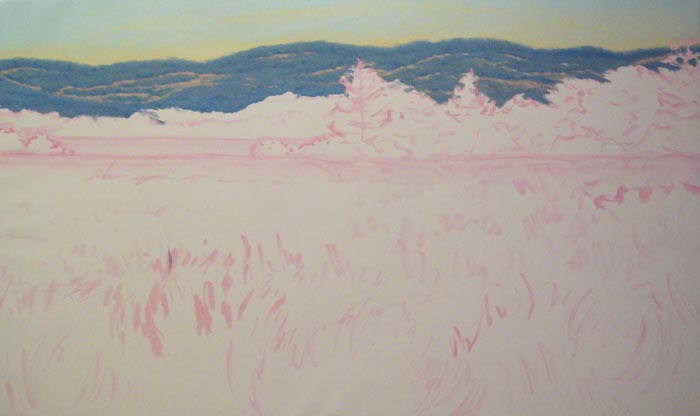
I begin with a simple line drawing to place the large shapes and work out any design problems within the canvas. The focal point in this piece is the energy, movement, and color of the lavender in the foreground.
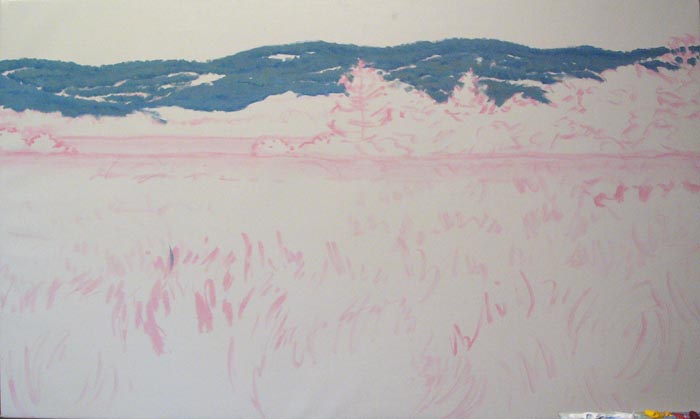
Next, I paint in the background hills to get a sense of the values and colors that will bring the painting together. I like to begin here so that when I lay the sky in next I’ll have a wet edge to soften the background and create a sense of distance.
I’ve painted the sky and the distant hills keeping them soft to create the sense of distance. This can be easily sharpened up later if need be.
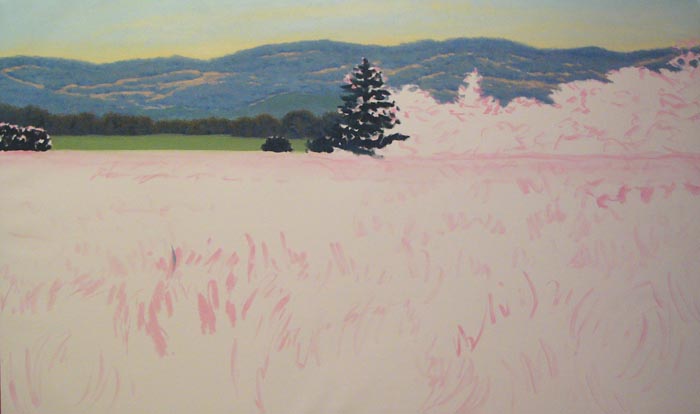
As I move toward the foreground the colors become warmer, purer and edges sharper. Again…as the painting progresses there is plenty of time for corrections and changes.
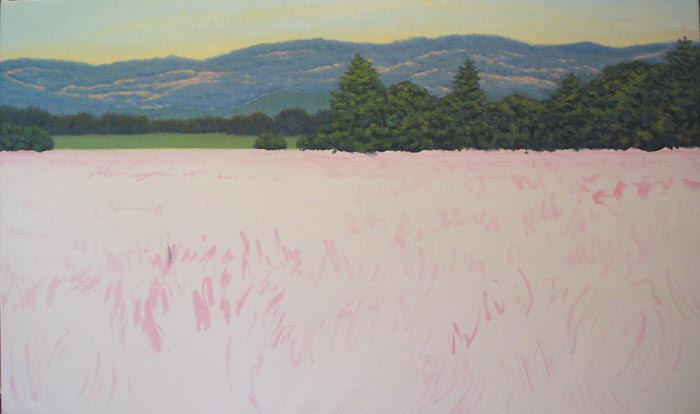
Now I’m laying in the lavender, the plan is to keep this very broad brush though I usually get caught up in the brushwork.
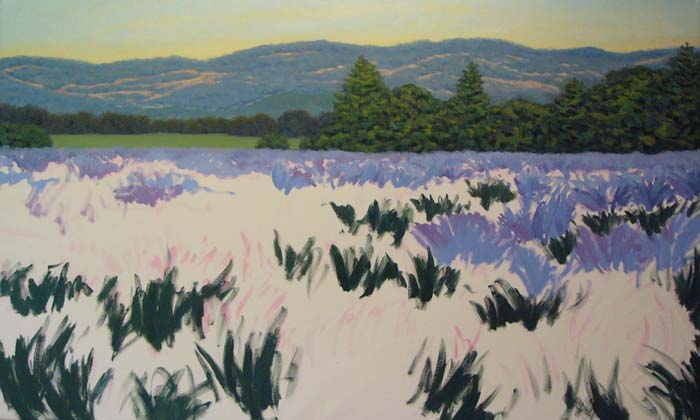
So far, so good.
The foreground is fairly well covered…now I need to let it dry and then begin to pull the colors together a little more.

Matanzas Winery, Napa California 36 x 60 Oil
Hungover a mantle…(yes I changed it) 🙂
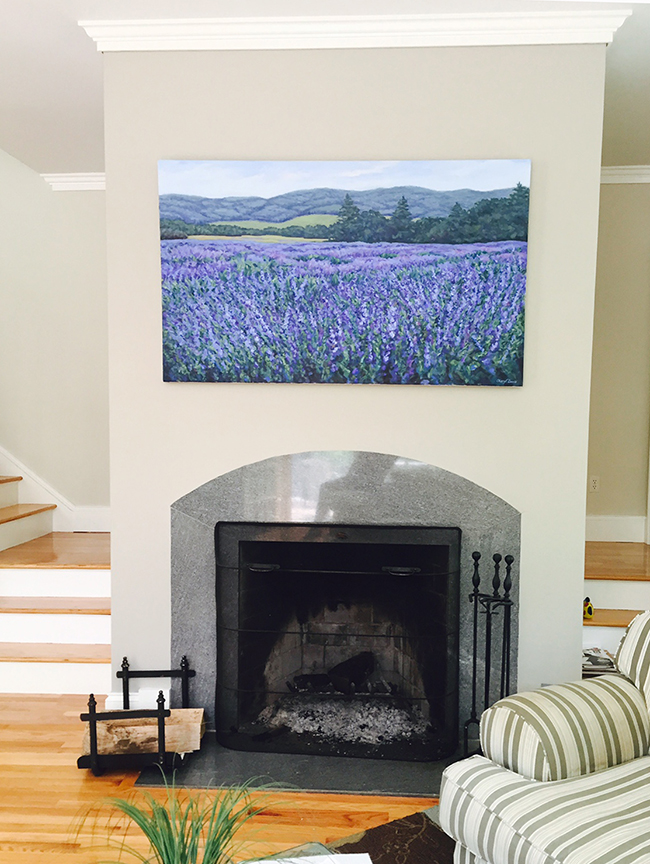
Heres the finished painting….to see more paintings from start to finish sign up here Wet Paint Newsletter featuring a new start to finish painting every month!
Here is the link to a you tube painting in time lapse so you don’t have to watch paint dry!..:)